The Krampus Returns Part II
I've had an usually creative week to the point where I feel the true spirit of the Krampus has taken hold of my hands and finished the job subconsciously!

Gruss Vom Krampus!
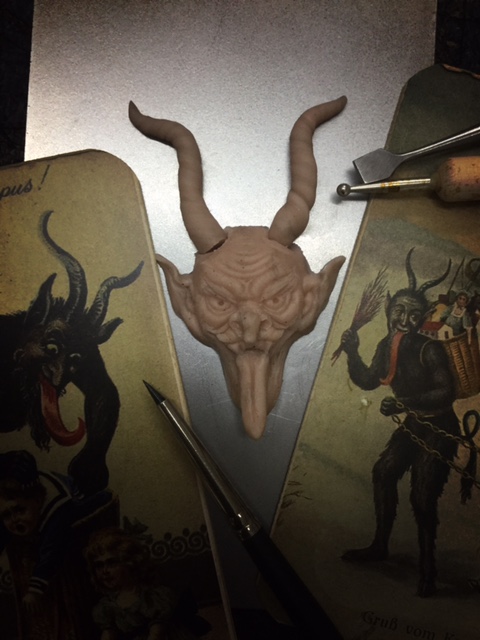
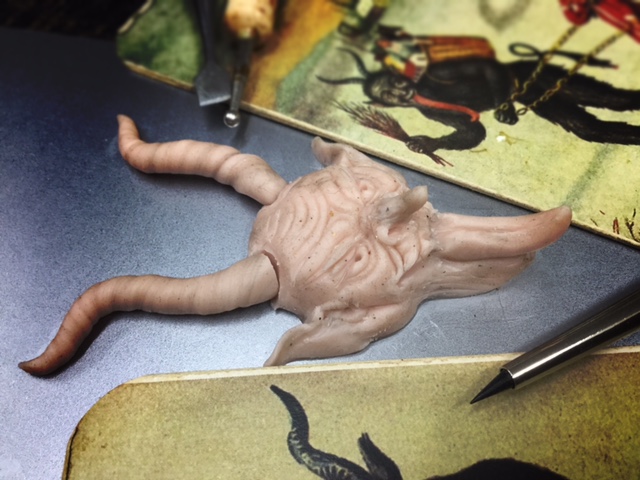
Since the last post I completed the sculpey master, created a mould and successfully cast and painted the first Krampus head. As the horns are delicate I decided to make a 3 part casting (1x head and 2x horns) and it all came out rather nicely. I'm also going to make a copper cast of the Krampus to allow for a few options on the final pieces.
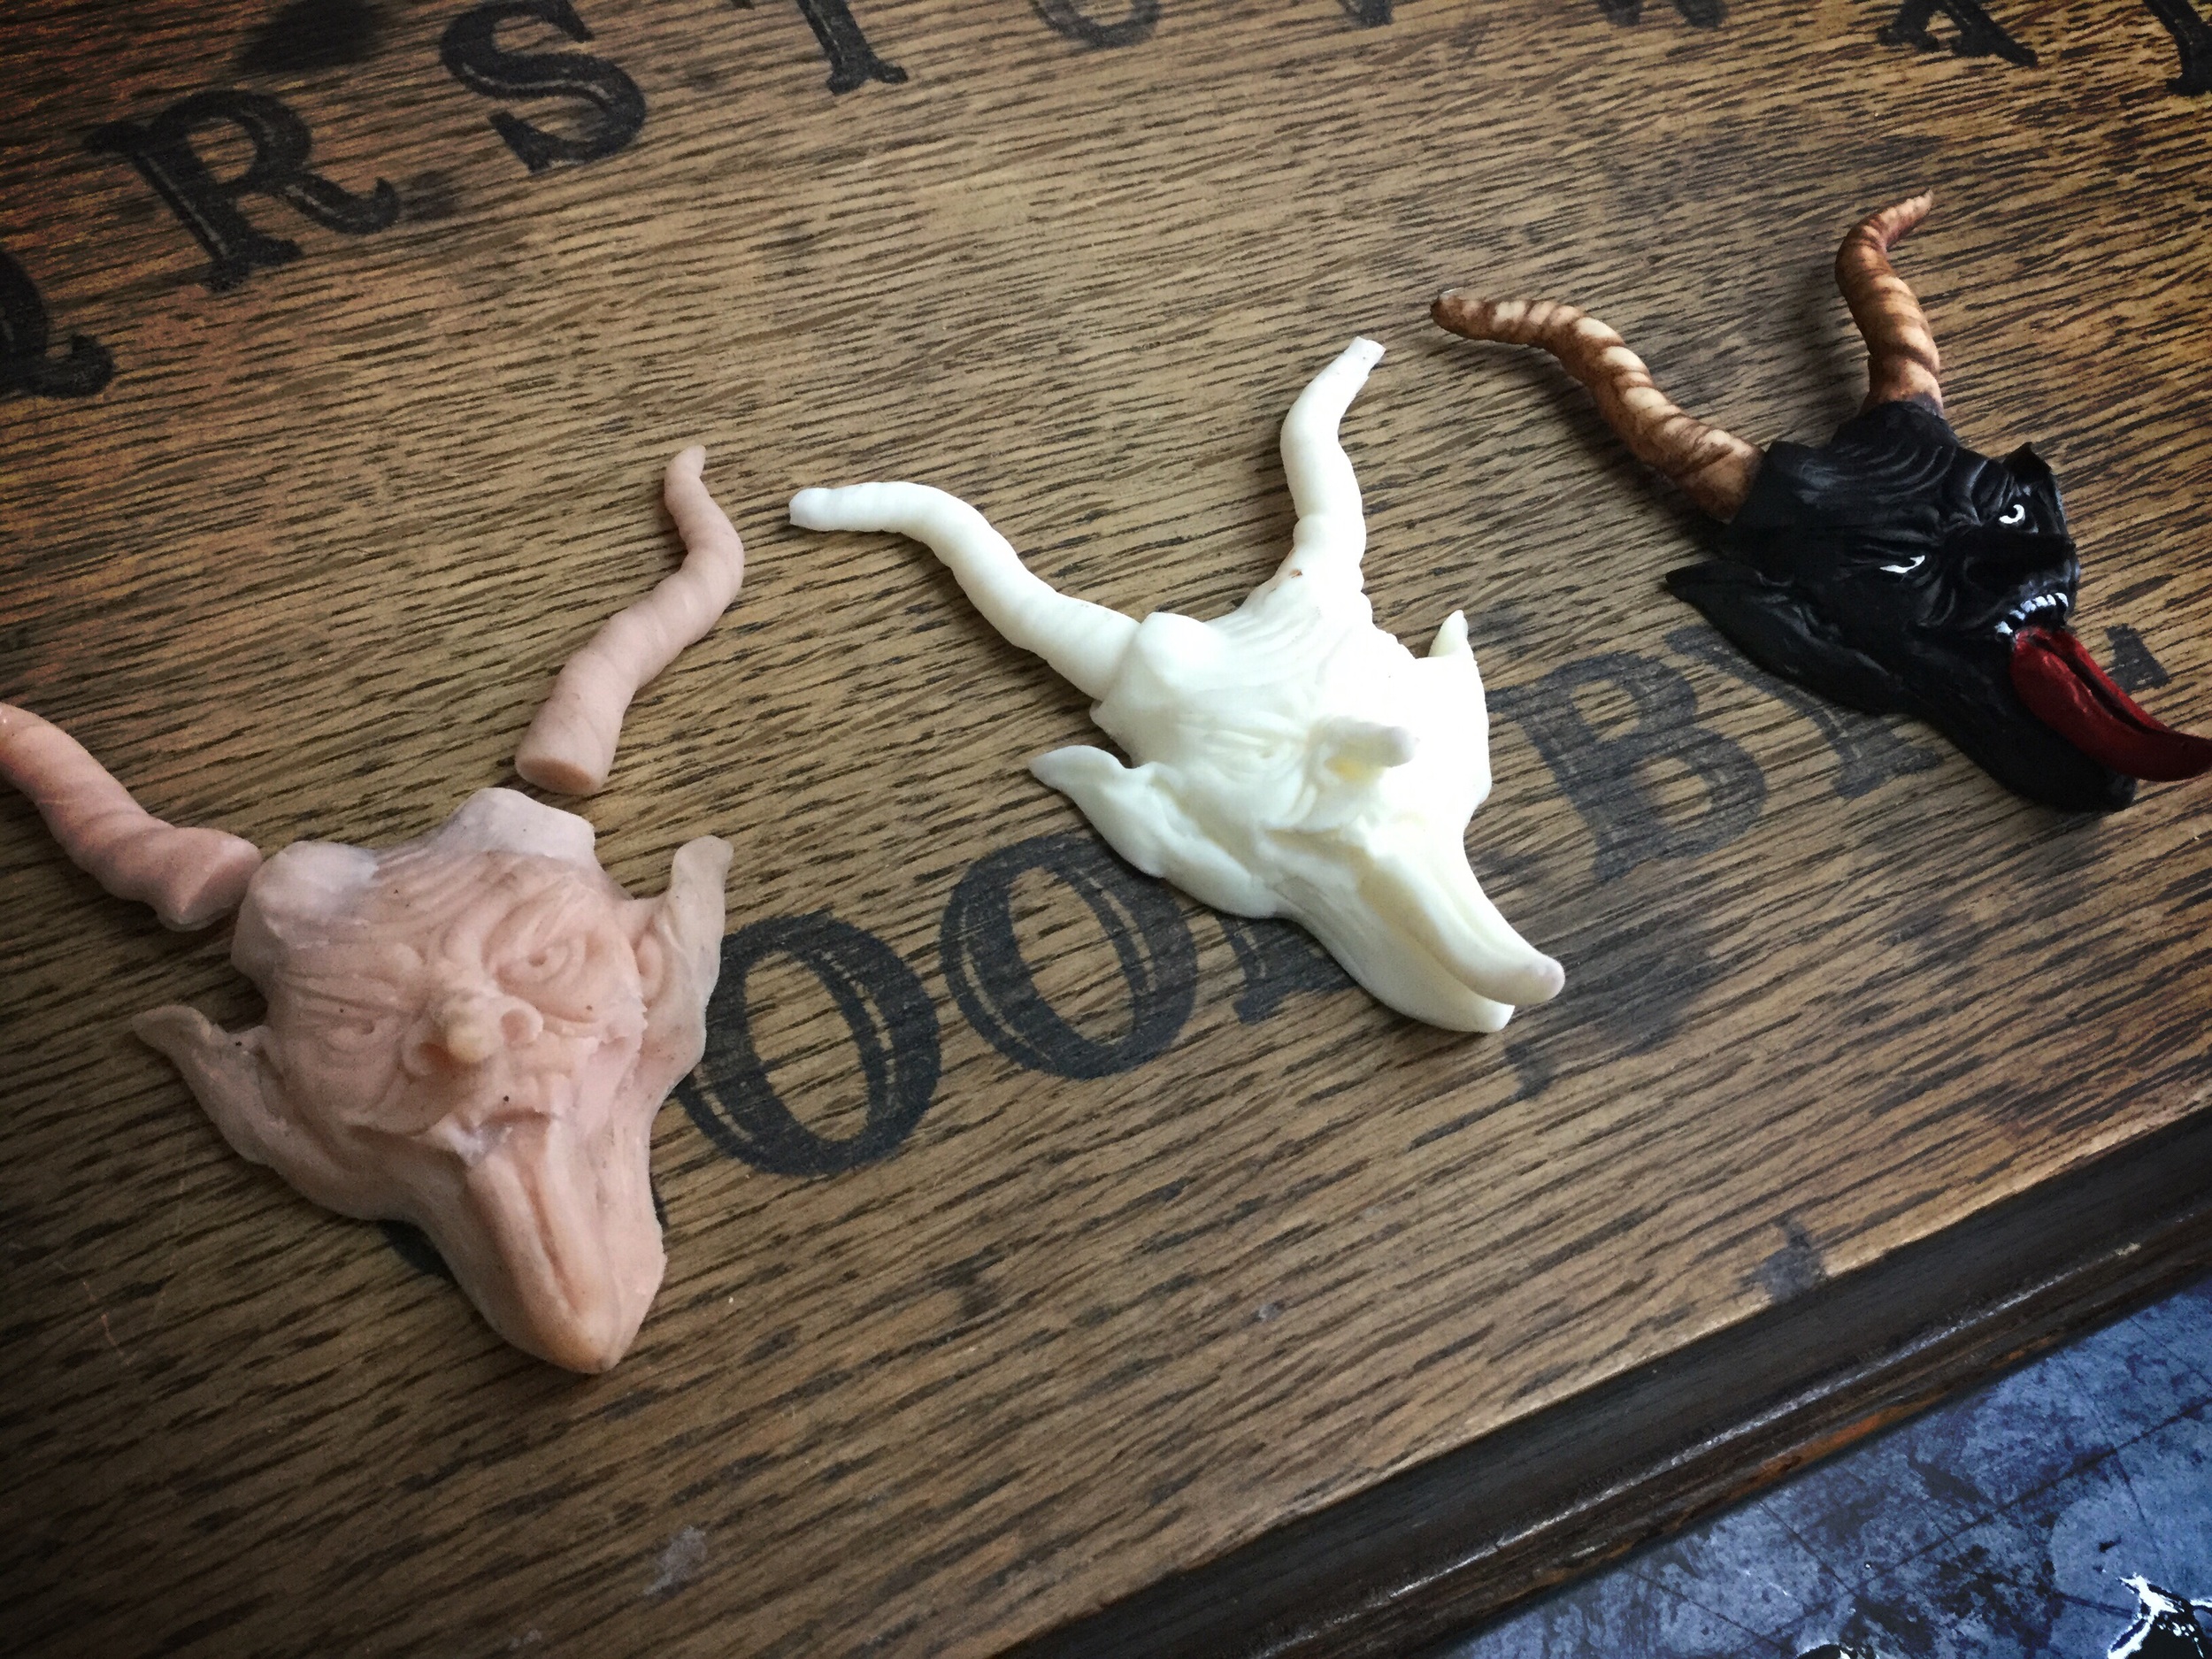
Master sculpt, resin cast and painted final
The wallet has been designed to accommodate the full Krampusnacht box as this has enough room for the additional routine photos that will come with the wallet. When it came to the colour there was only really one option, blood red! Once dry is was buffed and dirtied to give it an aged look.
The Krampus head is mounted on a 3D printed snowflake to retain the festive feel and to give me something more durable than resin as a backing piece.

Each of the wallets will be numbered and limited to 100 to compliment the original print run of the cards. An additional photo card will also be included in the package showing a group school photo to illustrate a cautionary tale of school bullies and the dire consequences, especially around Christmas....

The next stage is to cast the bronze version and also look at some real fur trim to give the Krampus his signature beastial look.

The stud fastener may also be replaced with a more ornate version. In the meantime I may knock myself up a Krampus tree ornament or transfer his face onto an 'Elf on the Shelf' to create the more terrifying 'Devil on the Level'!

Embossed back